⚡ New from StreamSpell: Deck Smith — AI-powered Stream Deck Profile Builder. Type one prompt, get a download-ready profile for any device. Try it free →
Want to make your stream more dynamic and hands-free? Reactive Overlays use Streamlabs AI technology to automatically track in-game events like kills, deaths, and wins: no manual editing required.
In this guide, we'll walk you through how Reactive Overlays work, show you how to install them step-by-step in Streamlabs, and explain how to reset your counters whenever you need a fresh start.
Tracking your K/D ratio, win/loss record, or player stats manually can be frustrating, and editing text sources mid-stream is even worse!! That's where Reactive Overlays come in.
Want to see them in action?
Check out the Kill Counter and Death Counter Reactive Overlays included in the BF6 HUD Stream Package:
Using AI vision technology, Streamlabs automatically detects what's happening on your screen: kills, deaths, wins, defeats, damage, even health and shields (and updates your overlay in real time!!). It can even make your webcam overlay react dynamically, like triggering muzzle flashes when you take damage.
No manual editing. No alt-tabbing. Just pure gameplay.
Streamlabs AI currently supports 13 of the most popular competitive titles, including:
Apex Legends, Valorant, League of Legends, Fortnite, Battlefield 6, Black Ops 6, Marvel Rivals, Overwatch 2, Counter-Strike 2, PUBG, Rainbow Six Siege, War Thunder, and Warzone.
Setting up your new Reactive Overlay takes only a few minutes. Just follow these steps to get started:
💡 Tip: You can resize or move your overlay in the scene to fit your stream layout perfectly.
By default, Streamlabs AI automatically resets all Reactive Overlay sources when you start a new stream. But if you'd like to reset them mid-session — for example, to display your current K/D ratio for a specific match — here's how:
Alternative Method:
Click “Go Live,” then “End Stream.” This will also reset all your Reactive Overlay counters to zero.
👉 Streamlabs is currently developing a built-in feature for users to reset counters manually.. we'll update this post as soon as it's available!
Explore our full guide to next-gen AI-powered overlays: Next-Gen Reactive Stream Overlays for Twitch & YouTube | Powered by Streamlabs AI
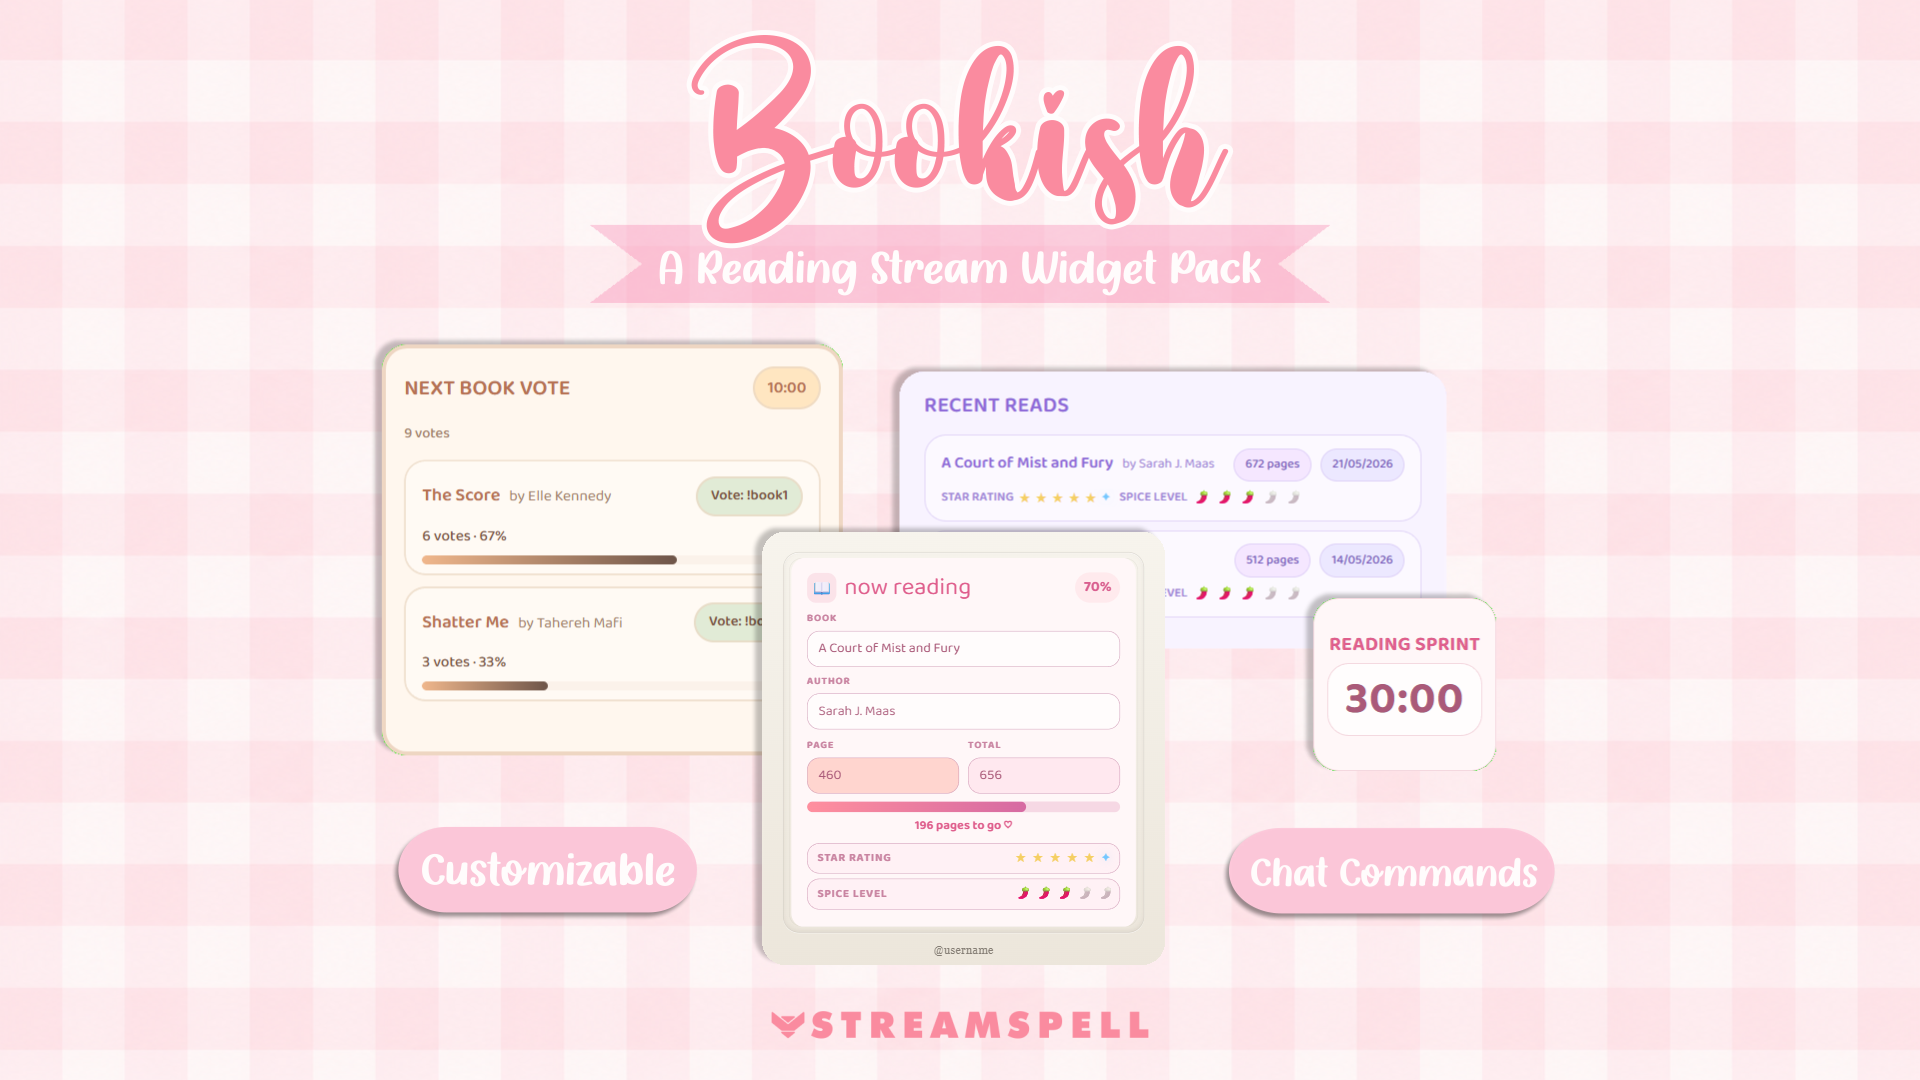
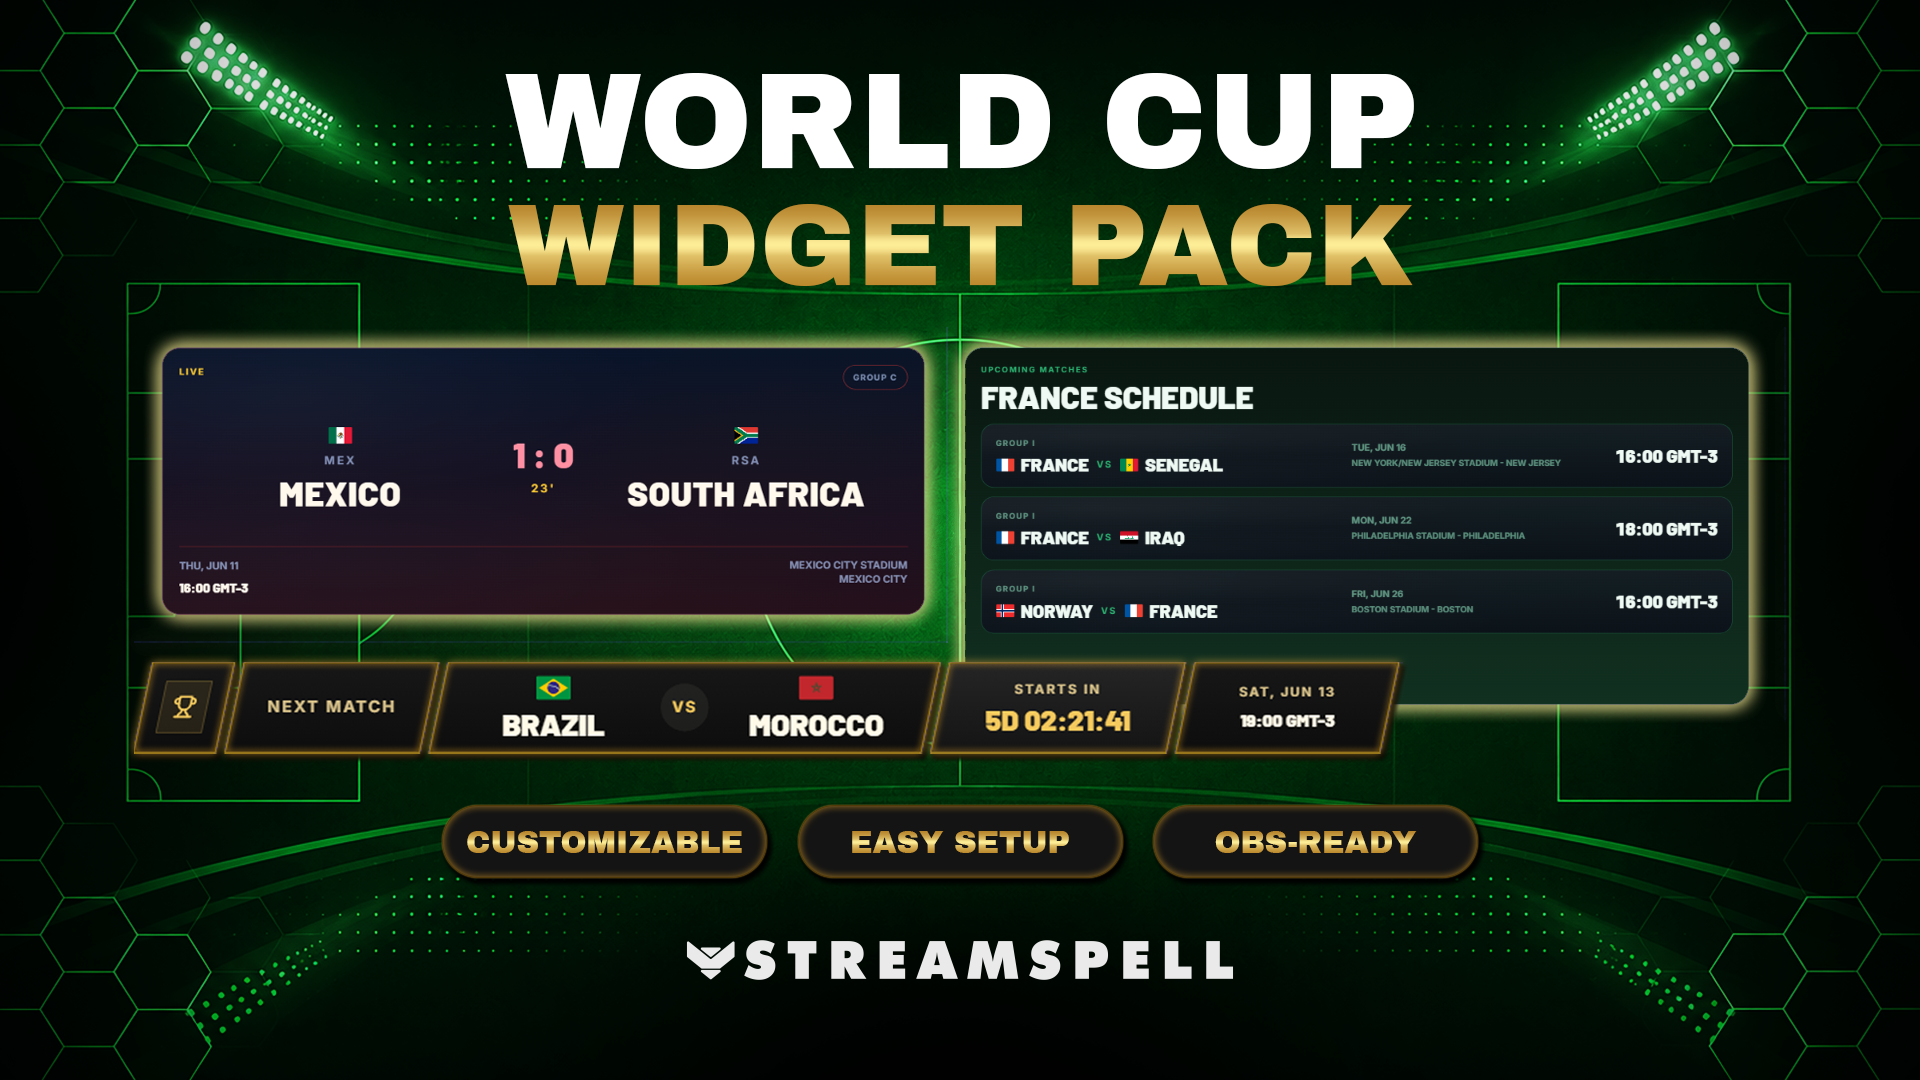
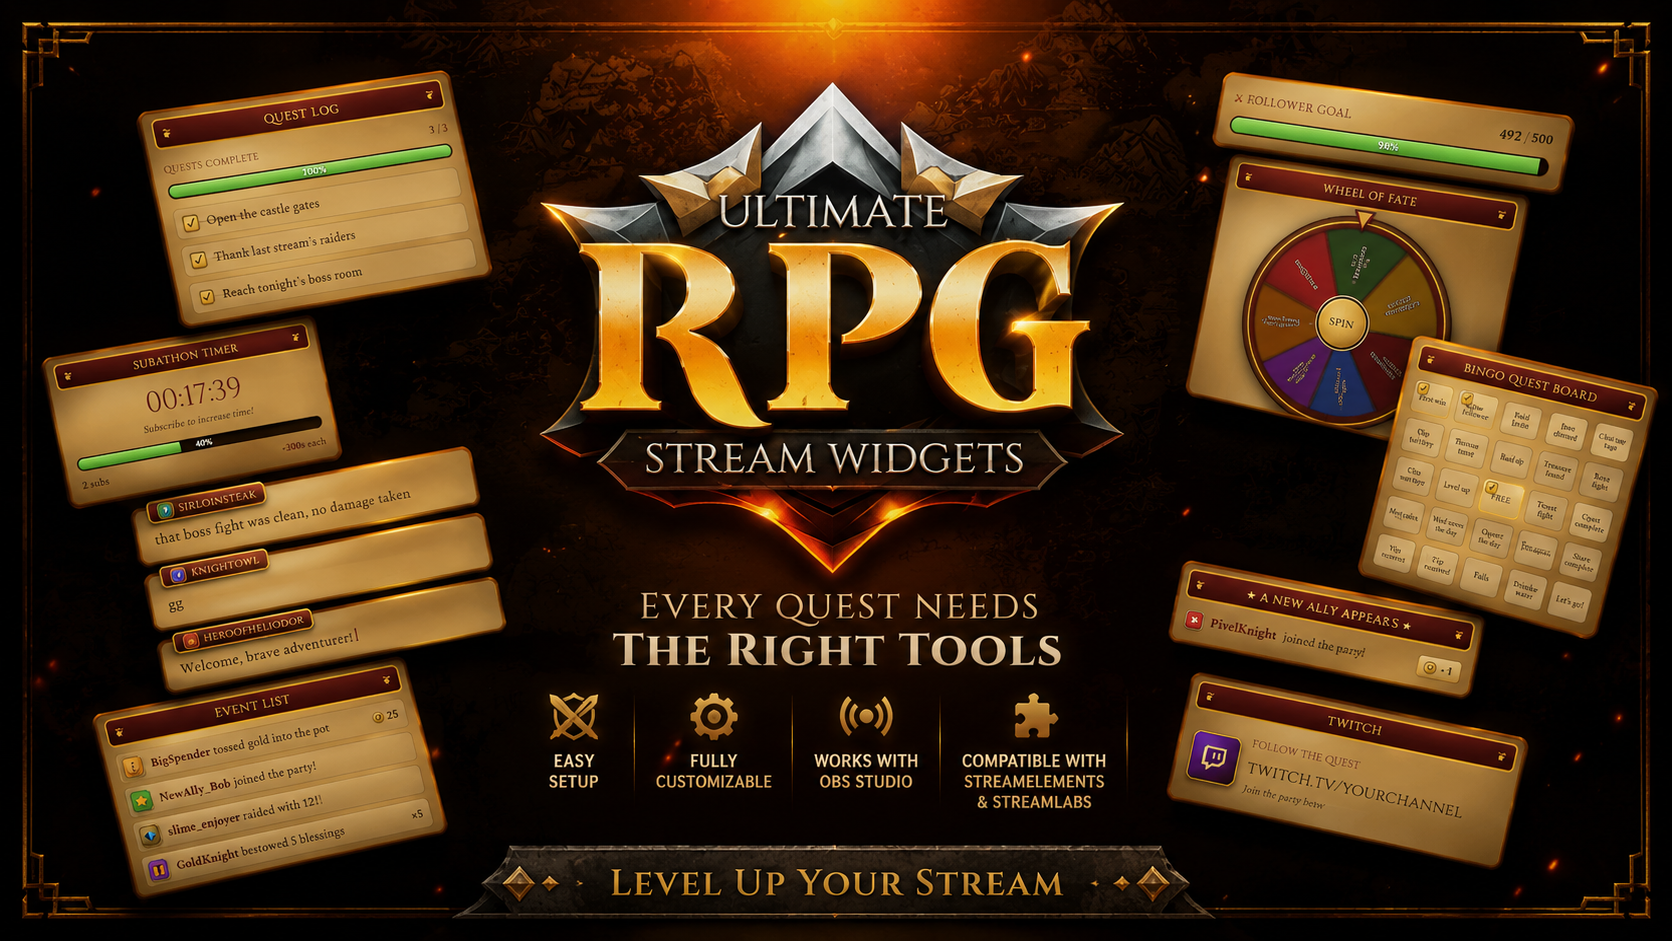
Or browse the complete Reactive Overlays Collection in our store: StreamSpell Reactive Overlays
Find more animated stream overlays, animated stream alerts, animated transitions, Stream Deck Icons, emotes and badges, stream widgets (Chat Box, Event List, Goal Bar), and custom stream designs:
Thank you for following our blog!
See you in the next post 💙
StreamSpell also just launched Deck Smith — an AI-powered Stream Deck Profile Builder. Just type a prompt and get a complete, download-ready Stream Deck profile adapted for any device.
Learn everything about OBS Studio, Streamlabs Desktop, which streaming platforms are best, sizing guides for Twitch, YouTube and more!

© 2025 │ StreamSpell is a premium graphic, video and animation design agency for streamers and gamers. We offer free and premium stream overlays, templates, OBS scene collections, packages, alerts, widgets such as chat box, event list and goal bars, stream panels, webcam overlays, and more assets for Twitch, Kick, Youtube, Trovo and Facebook Gaming.